

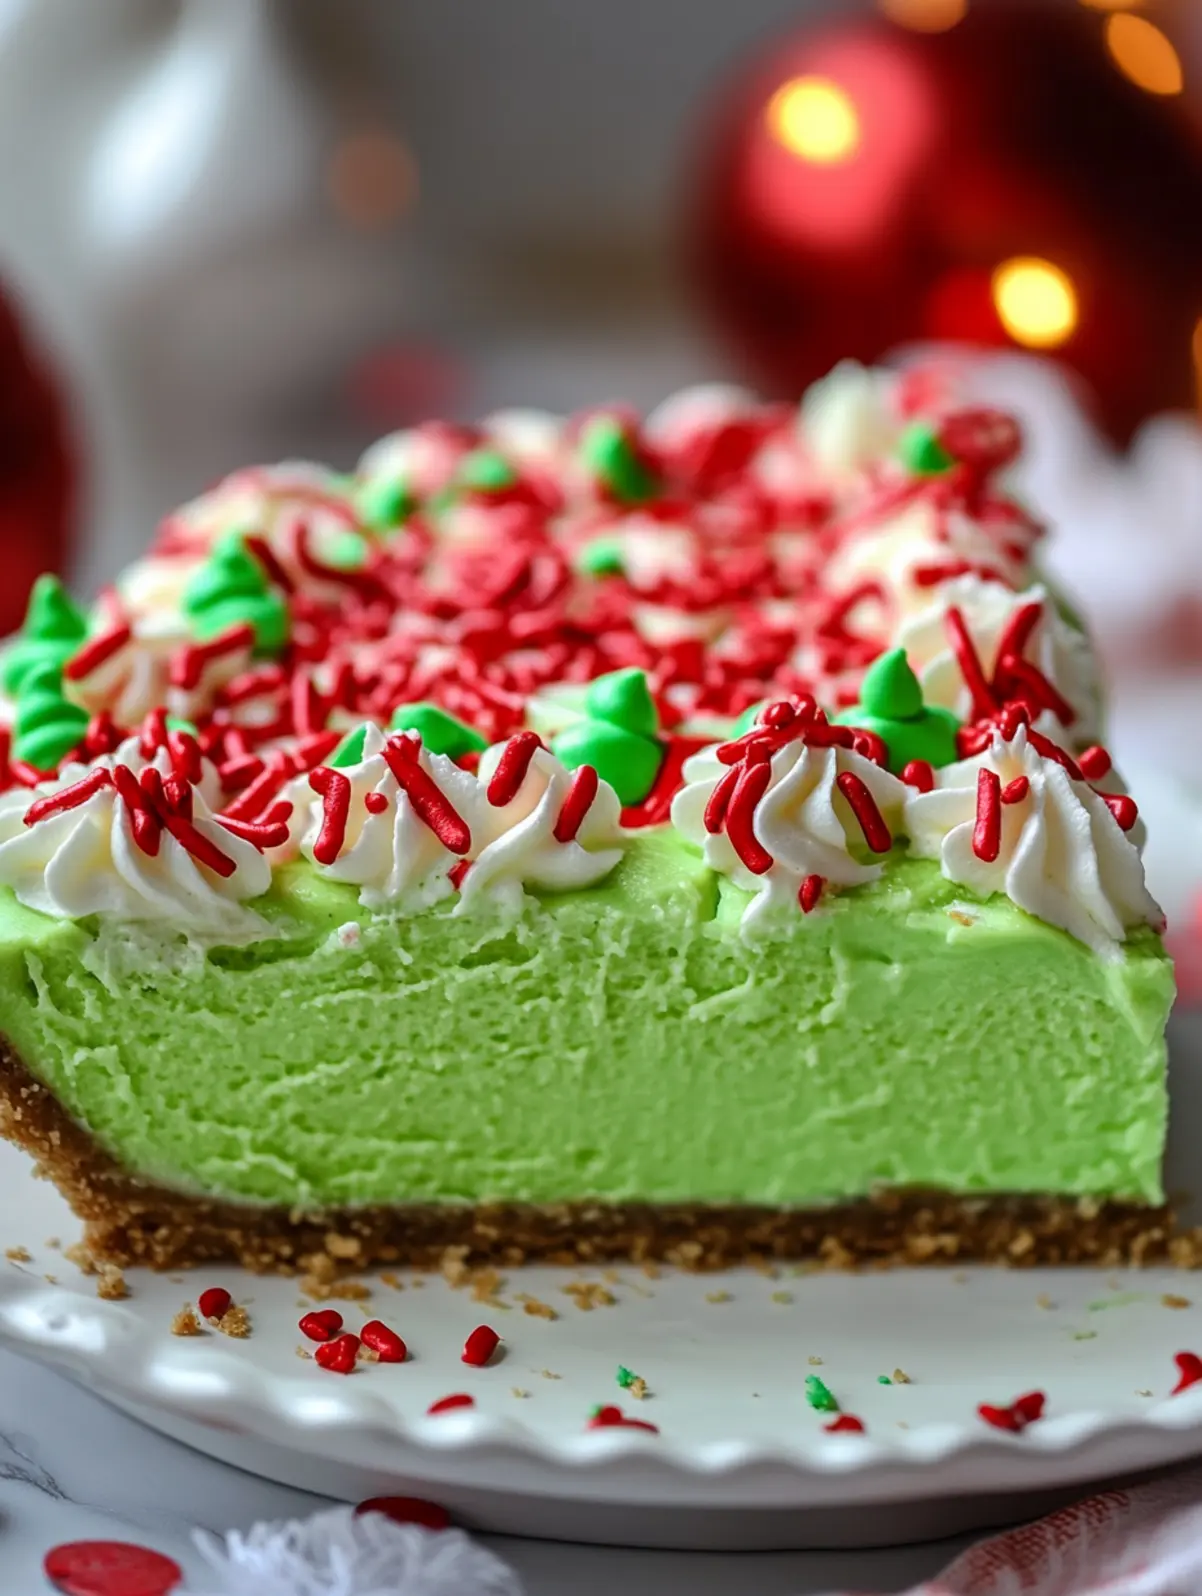
This whimsical No Bake Grinch Pie transforms simple ingredients into a showstopping holiday dessert with almost no effort required. The velvety white chocolate filling sets to silky perfection inside a crisp crust, creating a delightful texture contrast that keeps everyone coming back for seconds. Ready in just minutes — with zero baking time — it’s the perfect last-minute dessert solution when holiday festivities have the kitchen already working overtime. A dollop of whipped cream and a few fresh berries transform each slice into a festive masterpiece.

Why You’ll Love This Recipe
This No Bake Grinch Pie has become a holiday tradition for many families, and after one taste, you’ll understand exactly why. Here’s what makes it so special:
- Effortlessly Impressive: The stunning contrast between the creamy white filling and optional green garnishes creates a showstopper that looks like it took hours instead of minutes.
- Time-Saving Wonder: With just 10 minutes of active prep and zero baking time, this dessert frees up your oven for other holiday dishes while still delivering maximum wow-factor.
- Kid-Friendly Creation: Little helpers can safely assist with whisking the pudding and decorating the top, making this recipe perfect for creating cherished holiday memories in the kitchen.
- Make-Ahead Magic: Prepare this pie up to two days before your celebration, allowing the flavors to develop and deepen while crossing one more task off your busy holiday to-do list.
- Foolproof Success: The no-bake method eliminates common pie mishaps like cracked filling or undercooked crusts, ensuring perfect results even for novice bakers tackling holiday entertaining.
Ingredient Breakdown with Tips
The three simple ingredients in this No Bake Grinch Pie each play a crucial role in creating that dreamy texture and delightful flavor that makes this dessert so magical for holiday gatherings.
- Pre-made pie crust: A graham cracker crust works beautifully as its subtle sweetness complements the white chocolate filling perfectly. Store-bought saves precious time, but you can also make your own with crushed graham crackers and melted butter for a more homemade touch.
- White chocolate pudding mix (3.9 oz box): This creates the silky-smooth texture and delicate flavor foundation of your Grinch Pie. For best results, use instant pudding mix (not cook-and-serve) and ensure it hasn’t expired for optimal thickening power.
- Cold 2% milk (2 cups): The milk’s fat content matters significantly – 2% provides the perfect balance of richness without being too heavy. Always use very cold milk straight from the refrigerator, as it helps the pudding set properly and creates a more stable filling.
How to Make Enchanting No Bake Grinch Pie: A Dreamy Holiday Delight
- Prepare your pre-made pie crust by removing it from packaging and setting it on a flat work surface. If using a graham cracker crust, check for any cracks before proceeding.
- Pour the white chocolate pudding mix into a medium mixing bowl. Make sure to use a bowl with enough room for vigorous whisking.
- Add the 2 cups of cold 2% milk to the pudding mix. The milk must be cold straight from the refrigerator—I’ve found this makes all the difference in how quickly and firmly the pudding sets.
- Whisk the mixture vigorously for about 2 minutes until it begins to thicken. Don’t worry if it seems a bit loose at first; the pudding will continue to set up as it chills.
- Transfer the pudding mixture immediately into the prepared pie crust, using a silicone spatula to spread it evenly to the edges.
- Smooth the top of the filling with the back of a spoon for a picture-perfect presentation. This is where I sometimes add a few drops of green food coloring swirled on top for that true “Grinch” effect.
- Refrigerate the pie for at least 2 hours, though 4 hours or overnight yields the best texture and flavor as the filling fully sets and the crust slightly softens.
- Serve chilled, adding optional whipped cream and fresh berries just before bringing to the table for maximum visual impact.
Make Ahead Options
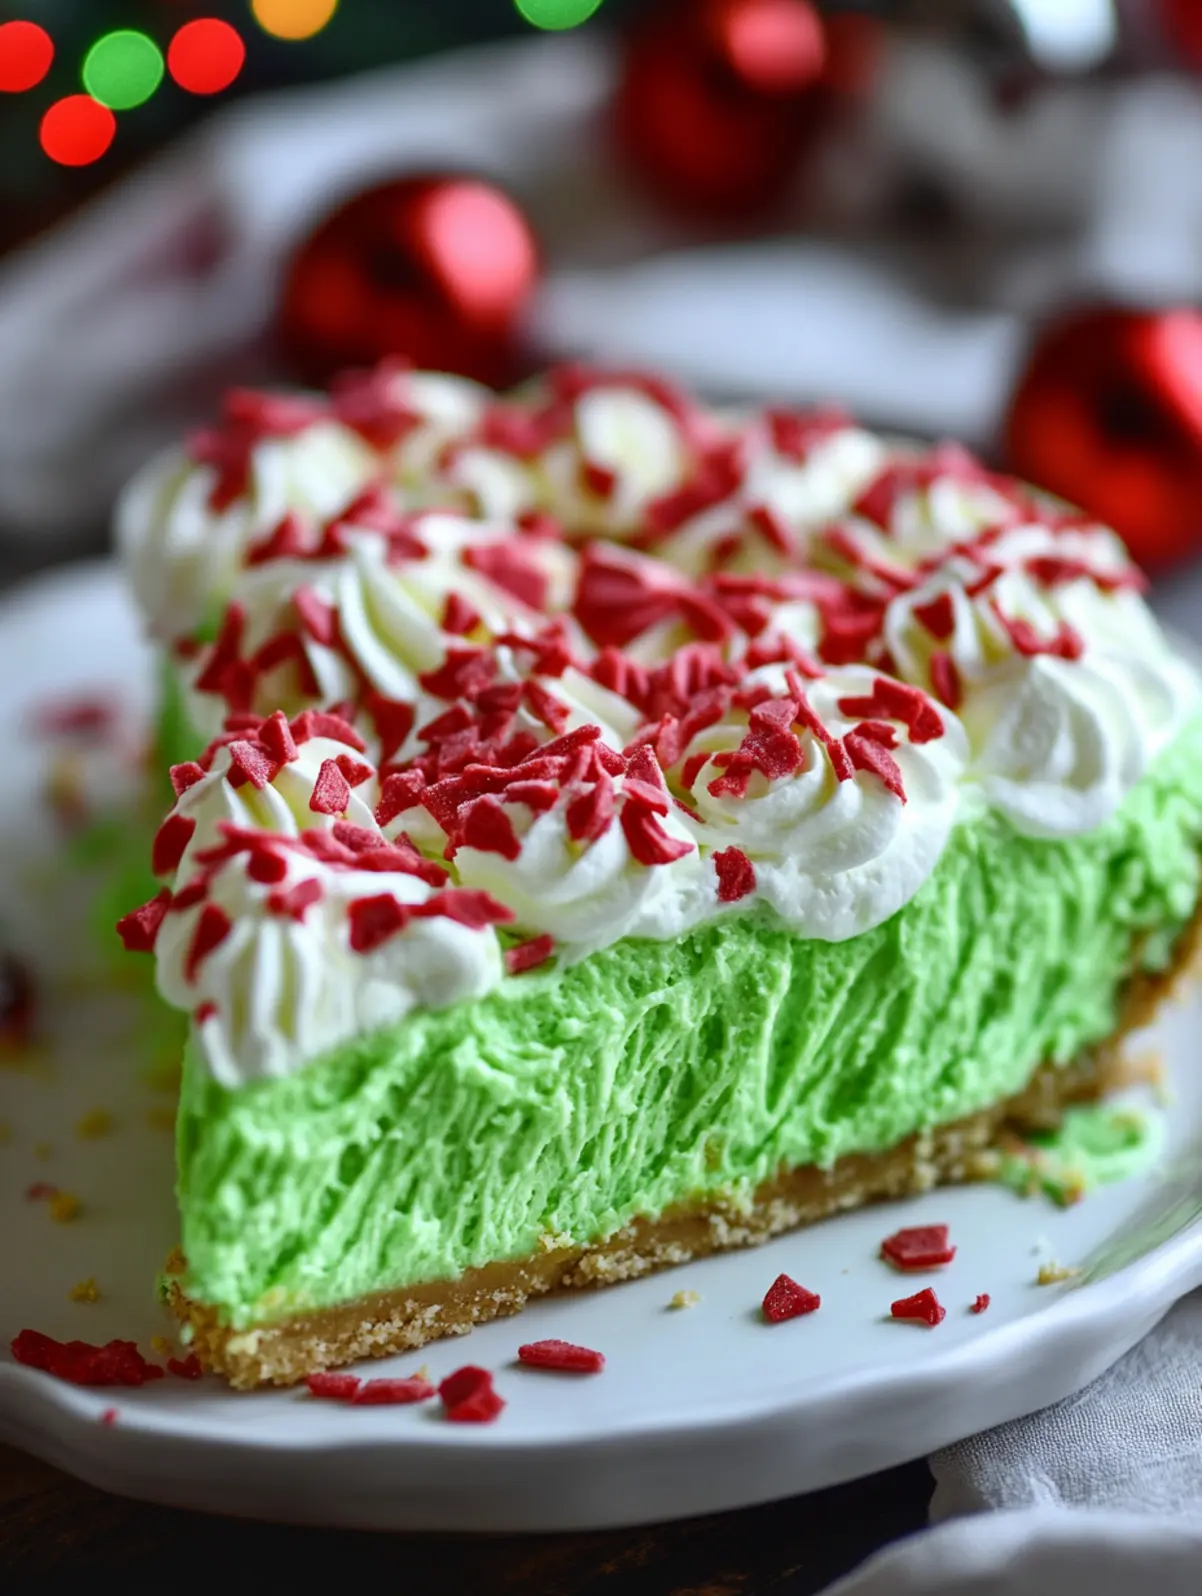
This No Bake Grinch Pie is a meal prep superstar that actually improves with time! You can prepare the entire pie up to 48 hours in advance, storing it covered in the refrigerator where the filling develops an even silkier texture and the flavors meld beautifully. For maximum freshness, wait to add any whipped cream or berry garnishes until just before serving (this prevents the toppings from becoming soggy or losing their vibrant appearance). The pie can also be assembled the morning of your event and chilled for at least 4 hours. When ready to serve, simply remove from the refrigerator 10 minutes before slicing to make cutting easier, then add your festive toppings for that picture-perfect presentation.
Variations & Substitutions
Turn this simple recipe into your own creation with these easy tweaks! Whether you need to accommodate dietary preferences or just want to experiment with flavors, these options have you covered.
- Go truly Grinch-y: Add 5-7 drops of green food coloring to your pudding mixture for a vibrant Grinch-green pie that will delight children and holiday guests. For a more subtle effect, I sometimes just swirl a few drops on top before chilling.
- Crust alternatives: Swap the pre-made graham crust for an Oreo cookie crust to create a striking color contrast, or use a chocolate cookie crust for richer flavor. For a gluten-free option, try crushed gluten-free cookies mixed with melted butter.
- Dairy-free adaptation: Replace 2% milk with full-fat coconut milk or almond milk (use 1¾ cups instead of 2 cups as plant milks are thinner). Add 1 tablespoon of cornstarch to help the pudding set properly.
- Flavor enhancers: Mix ½ teaspoon peppermint extract into your pudding for a refreshing holiday twist, or fold in ⅓ cup of mini white chocolate chips for added texture and bursts of flavor.
- Pudding variations: If white chocolate pudding is unavailable, use vanilla instant pudding with 2 ounces of melted white chocolate stirred in. For a richer version, substitute one cup of the milk with heavy cream for an ultra-indulgent texture.
- Festive toppings: Create a “Santa hat” effect by arranging fresh strawberries and whipped cream on top, or sprinkle with crushed candy canes during the holidays for a beautiful mint-chocolate combination.
Storage & Freezing
This No Bake Grinch Pie keeps beautifully in the refrigerator for up to 3-4 days when stored properly. For best results, cover the pie loosely with plastic wrap or place it in a pie keeper to prevent the filling from absorbing other food odors in your refrigerator. The texture remains dreamy for the first 48 hours, though you may notice the crust softening slightly after that—many of my guests actually prefer this more cake-like consistency!
Freezing is possible but changes the texture of the white chocolate pudding filling. If you need to freeze leftovers, wrap individual slices tightly in plastic wrap followed by aluminum foil and freeze for up to 1 month. When ready to enjoy, thaw overnight in the refrigerator rather than at room temperature to prevent condensation from making the crust soggy.
For make-ahead preparation, this pie can be completely assembled up to 2 days before serving. Just wait until right before serving to add any whipped cream or decorative toppings, as these tend to weep or lose their shape during extended refrigeration.
Expert Tips
Elevate your No Bake Grinch Pie with these simple tricks that make all the difference:
- Temperature matters: Always use cold milk straight from the refrigerator when mixing with the pudding powder—I’ve found this creates a firmer, more stable filling that slices beautifully.
- Prevent soggy crust: Brush a thin layer of melted white chocolate on your pre-made pie crust and let it set before adding the pudding mixture. This creates a moisture barrier for longer-lasting crispness.
- Perfect the texture: Whisk the pudding and milk mixture for exactly 2 minutes by the clock. Under-whisking leaves lumps, while over-whisking can prevent proper setting.
- Create Grinch magic: For authentic Grinch vibes, add 3-4 drops of green food coloring to half the pudding mixture, then create gentle swirls when adding to the crust for a whimsical marble effect.
- Chill strategically: Refrigerate your No Bake Grinch Pie uncovered for the first hour (prevents condensation), then cover loosely with plastic wrap for the remaining chill time.
Serving Suggestions
This No Bake Grinch Pie is as versatile as it is delightful, perfect for holiday gatherings or a special weeknight treat that brings smiles all around.
For a festive holiday presentation, I like to serve each slice with a dollop of fresh whipped cream tinted with the slightest hint of green, and a few fresh raspberries arranged to resemble a tiny Grinch heart growing “three sizes that day.” The bright red berries provide both a visual pop and tangy contrast to the smooth white chocolate filling.
Make it part of a memorable dessert table by pairing smaller slices with cups of hot chocolate for the kids and spiced eggnog for the adults. The rich white chocolate flavor in the pie harmonizes beautifully with warm winter beverages, creating that perfect cozy holiday feeling that brings everyone together.
For an extra special touch, serve on chilled dessert plates with a light dusting of crushed candy canes around the edge—the subtle mint flavor complements the creamy white chocolate pudding filling in unexpectedly delicious ways.

Recipe FAQs
Can I use a different type of milk?
Whole milk works beautifully for extra richness.
How do I make it look “Grinch-like”?
Add green food coloring to the filling.
Will homemade crust work instead?
Absolutely! Graham cracker crust is perfect.
How long does it need to chill?
Minimum 2 hours, overnight is best.
Can this be made ahead?
Yes, keeps perfectly for 2-3 days refrigerated.
Is instant pudding required?
Yes—cook-and-serve won’t set properly.
Enchanting No Bake Grinch Pie: A Dreamy Holiday Delight

This whimsical No Bake Grinch Pie transforms simple ingredients into a showstopping holiday dessert with almost no effort required.
- Prep Time: 10 minutes
- Cook Time: 0 minutes
- Total Time: 2 hours 10 minutes
- Yield: 8 servings
- Category: Dessert
- Method: No Bake
- Cuisine: American
- Diet: Vegetarian
Ingredients
- 1 pre-made pie crust
- 1 box (3.9 oz) white chocolate pudding
- 2 cups cold 2% milk
Instructions
- Prepare your pre-made pie crust by removing it from packaging and setting it on a flat work surface. If using a graham cracker crust, check for any cracks before proceeding.
- Pour the white chocolate pudding mix into a medium mixing bowl. Make sure to use a bowl with enough room for vigorous whisking.
- Add the 2 cups of cold 2% milk to the pudding mix. The milk must be cold straight from the refrigerator—I’ve found this makes all the difference in how quickly and firmly the pudding sets.
- Whisk the mixture vigorously for about 2 minutes until it begins to thicken. Don’t worry if it seems a bit loose at first; the pudding will continue to set up as it chills.
- Transfer the pudding mixture immediately into the prepared pie crust, using a silicone spatula to spread it evenly to the edges.
- Smooth the top of the filling with the back of a spoon for a picture-perfect presentation. This is where I sometimes add a few drops of green food coloring swirled on top for that true ‘Grinch’ effect.
- Refrigerate the pie for at least 2 hours, though 4 hours or overnight yields the best texture and flavor as the filling fully sets and the crust slightly softens.
- Serve chilled, adding optional whipped cream and fresh berries just before bringing to the table for maximum visual impact.
Notes
- Temperature matters: Always use cold milk straight from the refrigerator when mixing with the pudding powder—I’ve found this creates a firmer, more stable filling that slices beautifully.
- Prevent soggy crust: Brush a thin layer of melted white chocolate on your pre-made pie crust and let it set before adding the pudding mixture. This creates a moisture barrier for longer-lasting crispness.
- Perfect the texture: Whisk the pudding and milk mixture for exactly 2 minutes by the clock. Under-whisking leaves lumps, while over-whisking can prevent proper setting.
- Create Grinch magic: For authentic Grinch vibes, add 3-4 drops of green food coloring to half the pudding mixture, then create gentle swirls when adding to the crust for a whimsical marble effect.
- Chill strategically: Refrigerate your No Bake Grinch Pie uncovered for the first hour (prevents condensation), then cover loosely with plastic wrap for the remaining chill time.
Nutrition
- Serving Size: 1 slice
- Calories: 250
- Sugar: 18g
- Sodium: 150mg
- Fat: 10g
- Saturated Fat: 5g
- Unsaturated Fat: 2g
- Trans Fat: 0g
- Carbohydrates: 35g
- Fiber: 1g
- Protein: 3g
- Cholesterol: 15mg
